Looking for fun and engaging activities for your kids aged 3-12? Sand art for kids is a fantastic option! It’s a creative, sensory-rich experience that boosts fine motor skills and sparks imagination. This comprehensive guide provides everything you need to get started with exciting sand art projects, from simple beach crafts for kids to more elaborate DIY sand art creations.
Sand art is surprisingly easy and requires minimal materials. The best part? It’s adaptable to different ages and skill levels. Whether you’re a teacher planning a classroom activity, a parent looking for a rainy-day project, or a caregiver searching for sensory play ideas, sand art for kids offers endless possibilities.
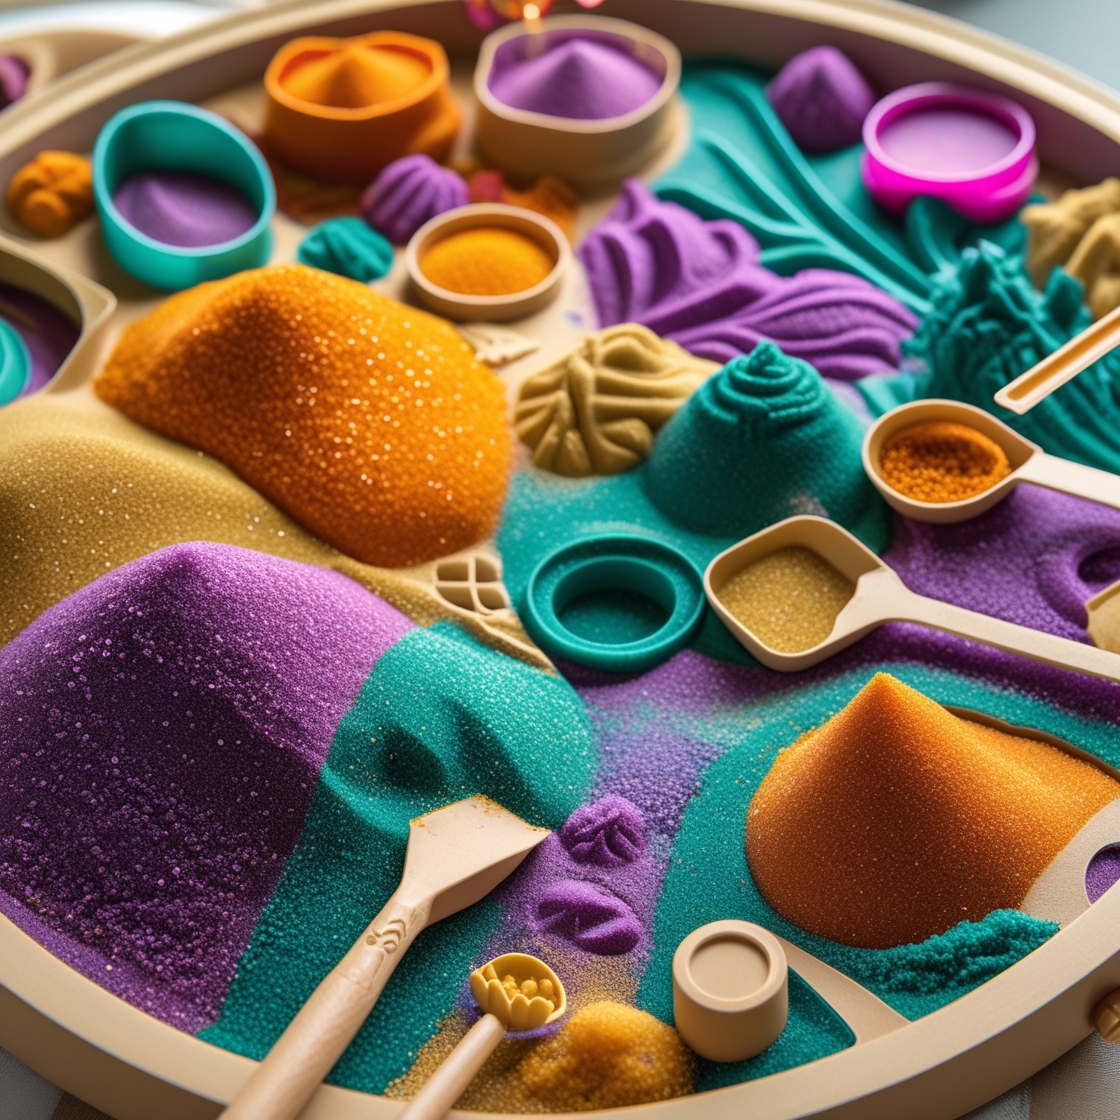
Creating sand art is a simple, multi-sensory experience that’s perfect for kids of all ages. Here’s a basic guide to get you started:
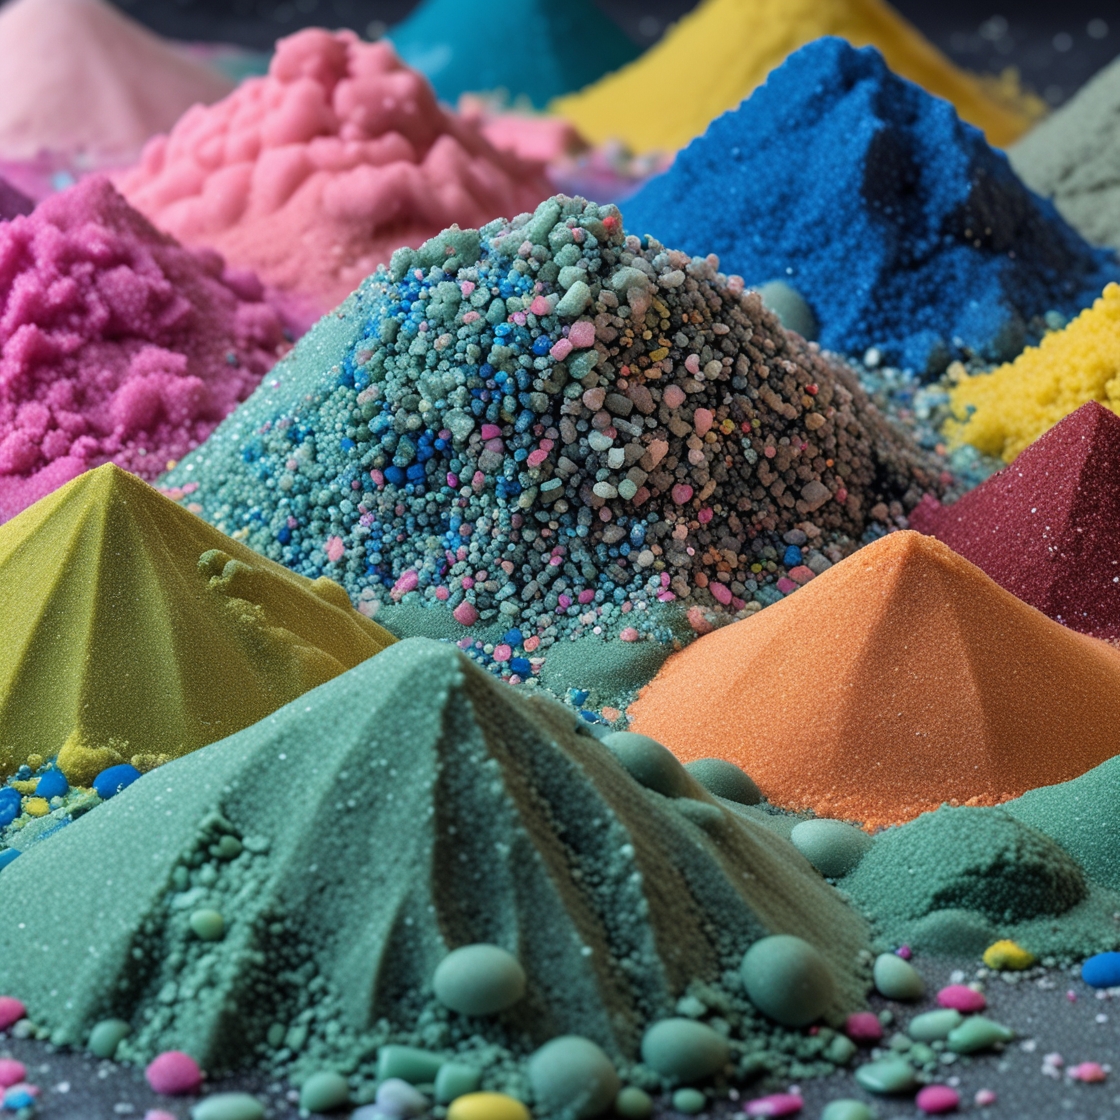
If you’re using plain white sand, mix in your chosen food coloring or powder until the sand is evenly colored. Allow the sand to dry completely before use. This step can be a fun activity for younger children, allowing them to explore colors and textures.
Lightly sketch your design onto your chosen surface. This step can be skipped for younger children who prefer a more free-form approach.
Carefully apply the glue or adhesive spray to the areas where you want to place the sand. Don’t use too much, as this can make the sand clump together. For smaller kids, use a squeeze bottle for better control.
Gently sprinkle the colored sand onto the glued areas. Use different colors to create patterns and designs. Let the glue dry completely before handling.
Once the glue is dry, gently tap off any excess sand. You can use a brush to remove sand from areas you don’t want it. Add details and layers as desired.
Sand art for kids isn’t limited to simple designs. Let your creativity flow and explore these fun ideas:
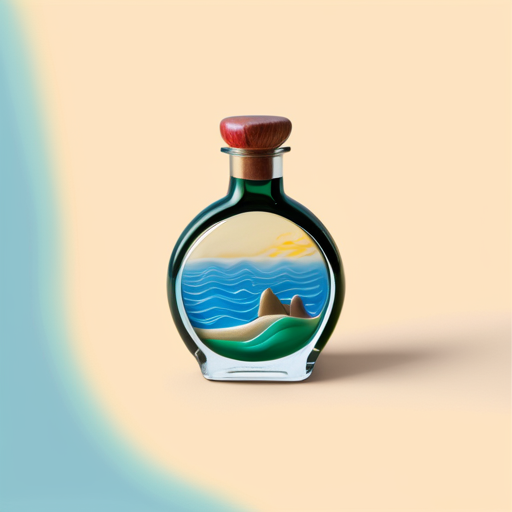
Fill clear glass bottles or jars with layers of colored sand to create stunning visual effects. This is a great project for older kids, focusing on layering and careful pouring techniques.
Use canvas boards as your base for more intricate designs. You can create stunning landscapes, animals, or abstract art. This is a great way to combine sand art with other art mediums like paint.
Use natural elements like leaves, twigs, or shells to create textures and shapes within your sand art. This encourages creativity and an appreciation for nature. This project is suitable for kids of all ages, allowing for different levels of detail.
While sand art is generally safe, it’s important to take some precautions:
Sand art for kids offers many benefits beyond just fun and creativity. It’s a fantastic way to develop:
Q: Where can I buy sand art supplies? A: Craft stores, online retailers (like Amazon or Etsy), and even some toy stores carry sand art kits and individual supplies.
Q: Can I use regular beach sand? A: While possible, beach sand can be coarse and contain impurities. Craft sand is a better choice for smoother results.
Q: How long does sand art take to dry? A: Drying time depends on the adhesive used and the thickness of the sand layer. Allow at least a few hours for complete drying.
Sand art for kids is a fantastically versatile activity that combines creativity, sensory exploration, and educational benefits. With a little imagination and these simple instructions, you can create memorable and beautiful sand art projects with your children. So gather your supplies and let the creative fun begin!