Layers of stories, captured in glass.
Sand art in a jar, also known as sand layering or sand bottle art, is the practice of creating images and patterns by pouring layers of colored sand into a glass vessel. Using specially designed funnels and tools, artists carefully pour different hues, creating contrasting stripes, intricate designs, or even miniature landscapes within the confines of the jar. This craft, with roots in both ancient traditions and modern artistic expression, offers a captivating blend of simplicity and complexity, resulting in visually stunning and surprisingly durable pieces of art.
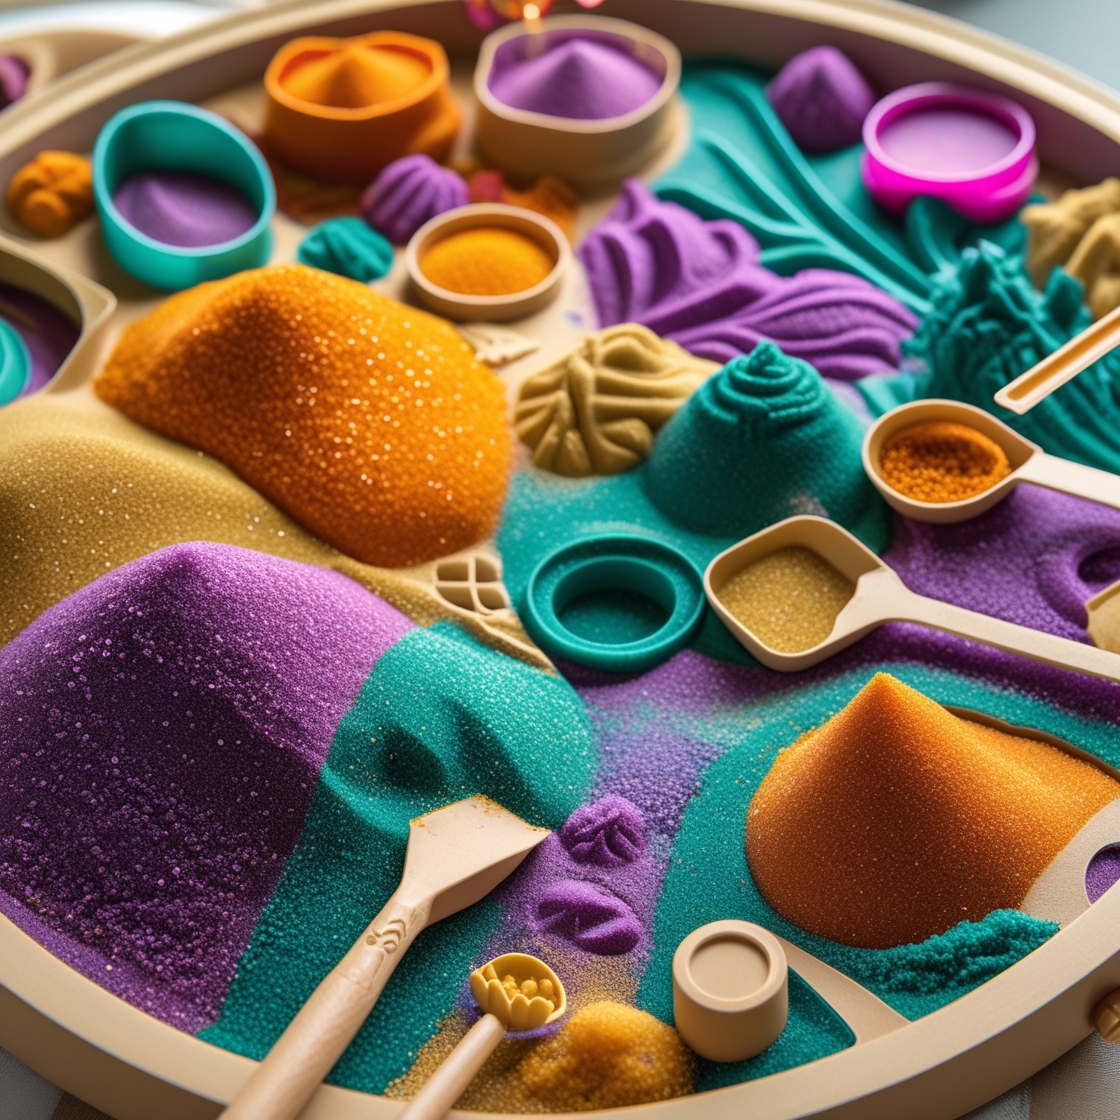
Creating captivating sand art in a jar requires more than just colored sand and a container. It demands a thoughtful approach to tools and techniques, ensuring the final product is a testament to precision and artistry. First and foremost, selecting the appropriate sand is crucial. While craft sand specifically designed for sand art offers vibrant colors and a fine texture, exploring natural sands from different locations can add a unique dimension to your artwork. Furthermore, consider the grain size; finer grains allow for intricate details, while coarser grains contribute to a more textured, rustic appearance. Once you’ve chosen your sand, preparing it is the next essential step. To achieve vibrant, distinct layers, the sand must be dry. Spreading it thinly on a tray and leaving it in a warm, dry place for several hours, or even using a low-heat oven, can effectively remove any moisture. This drying process prevents clumping and ensures the colors remain true once layered in the jar.
Beyond the sand itself, the tools you employ significantly impact the final result. Funnels are indispensable for controlling the flow of sand into the jar, minimizing spills and maximizing precision. Different sized funnels cater to varying jar openings and layering needs. Similarly, small spoons, scoops, or even repurposed straws can be invaluable for adding small amounts of sand or creating intricate designs within the layers. For more complex patterns, consider crafting or purchasing specialized tools like thin, flat sticks or skewers for manipulating the sand once it’s in the jar. These tools allow for delicate adjustments and the creation of swirling patterns or defined lines within the sand layers. Moreover, a sturdy work surface is essential. A flat, stable table protected with a covering like newspaper or a craft mat will prevent accidental spills and make the process considerably more manageable.
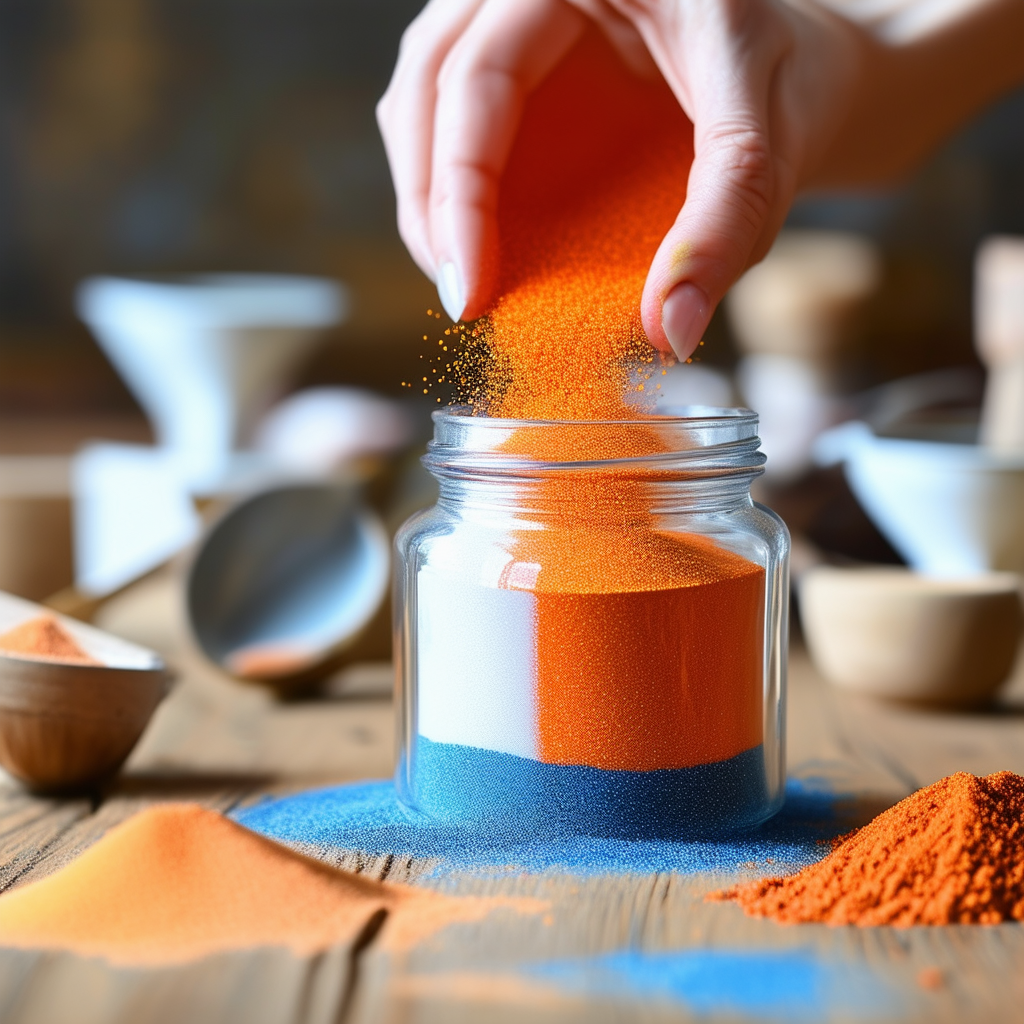
The technique of layering the sand is where true artistry comes into play. Begin by pouring a base layer of sand into the jar, using your chosen funnel to guide the flow and ensure an even distribution. Gently tap the jar on the work surface to settle the sand and create a firm foundation for subsequent layers. Subsequently, introduce the next color, again using the funnel and taking care not to disturb the underlying layer. Repeating this process with different colors builds the foundation of your sand art. The thickness of each layer can be varied to create different visual effects. Thinner layers offer greater detail and complexity, while thicker layers provide bold blocks of color.
To elevate your sand art beyond simple layering, consider incorporating design elements. By carefully tilting the jar at different angles while pouring, you can create sloping layers and dynamic visual interest. Using your chosen tools, you can carve patterns, create swirls, or draw lines within the sand layers after they’ve been poured. This allows for a greater degree of artistic expression and personalization. Additionally, incorporating small decorative elements like shells, tiny stones, or even dried flowers between the sand layers can add another dimension of visual appeal. However, ensure these additions are thoroughly dried to prevent mold growth within the sealed jar.
Finally, sealing the jar is the crucial last step. A tightly sealed lid prevents moisture from entering and protects the intricate sand layers from shifting or being disturbed. Before sealing, ensure the top layer of sand is level and even. Once sealed, your sand art is preserved, a miniature landscape or abstract design captured within the glass. With careful attention to these tools and techniques, creating sand art in a jar becomes a rewarding artistic endeavor, resulting in beautiful and personalized creations.
Sand in a jar art offers a unique and captivating way to personalize gifts for any occasion. This art form involves layering different colored sands within a glass jar to create intricate designs, landscapes, or even personalized messages. The result is a visually stunning and enduring keepsake that recipients will treasure for years to come. Furthermore, the versatility of sand art allows for a wide range of customization options, making it suitable for birthdays, anniversaries, graduations, holidays, or simply to express appreciation.
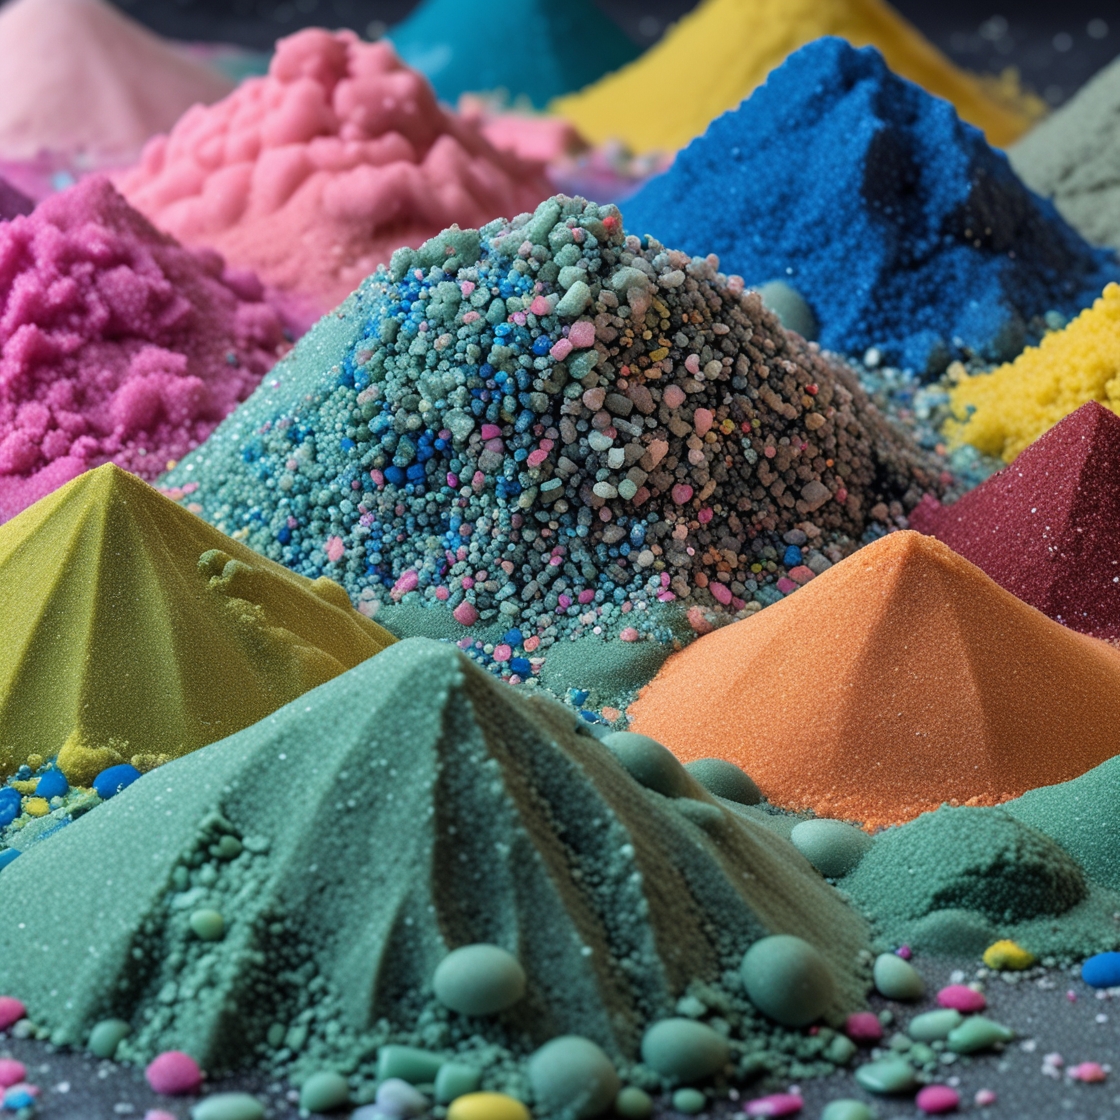
The process of creating sand art in a jar begins with selecting the appropriate container. Clear glass jars of varying shapes and sizes are commonly used, allowing the vibrant colors of the sand to shine through. Next, one must carefully choose the colors of sand that will be incorporated into the design. A wide spectrum of hues is available, from naturally occurring shades like beige, brown, and black, to vibrant, artificially colored sands in blues, greens, reds, and yellows. The selection of colors often depends on the intended theme or message of the artwork. For instance, a beach-themed jar might utilize shades of blue, beige, and white, while a festive holiday design might incorporate reds, greens, and golds.
Once the colors have been chosen, the artist begins the meticulous process of layering the sand. This is typically done using small funnels or spoons to carefully pour each layer into the jar. The thickness of each layer contributes to the overall design, creating depth and dimension. Precision and a steady hand are essential to achieving clean lines and intricate patterns. Some artists utilize thin tools, like skewers or needles, to further refine the layers and create finer details within the design. This process requires patience and artistic skill, as the sand can easily shift and disrupt the intended pattern.
Beyond simple color layering, more complex designs can be achieved by incorporating various techniques. For example, sloping or angled layers can create the illusion of hills or waves. Thin lines of contrasting colors can be used to depict objects like trees, flowers, or even personalized text. Additionally, small decorative elements, such as shells, pebbles, or miniature figurines, can be embedded within the sand layers to enhance the overall aesthetic. These additions further personalize the gift and add a unique touch to the artwork.
In addition to its aesthetic appeal, sand art in a jar offers a symbolic significance. The layered sand can represent the passage of time, the accumulation of memories, or the building of relationships. This inherent symbolism adds another layer of meaning to the gift, making it more than just a decorative object. Moreover, the permanence of the sand art ensures that the sentiment behind the gift will be preserved for years to come. Unlike flowers or other perishable gifts, sand art remains a lasting reminder of the occasion and the thoughtfulness of the giver. Therefore, sand in a jar art presents a truly unique and meaningful gift option for any occasion, combining artistic expression with enduring sentimental value. Its customizable nature and symbolic significance make it a perfect choice for commemorating special moments and expressing heartfelt emotions.
Sand in a jar art, also known as layered sand art, offers a captivating way to bring miniature landscapes to life. This art form involves carefully layering different colors and textures of sand within a glass container, creating a visually stunning representation of natural formations like deserts, canyons, or even underwater scenes. The process, while seemingly simple, requires patience, precision, and a keen eye for detail. To begin, one must gather the necessary materials. These typically include a clear glass jar or bottle with a wide mouth, a variety of colored sands, and tools for pouring and shaping the sand. While commercially available colored sand is readily accessible, natural sand can also be collected and dyed using natural pigments or food coloring, offering a more personalized touch.
The selection of the container is crucial, as its shape and size will dictate the complexity and scale of the landscape. A tall, slender bottle might be ideal for depicting a towering rock formation, while a wider jar lends itself to a sprawling desert scene. Once the container is chosen, the next step involves preparing the sand. This may involve sifting the sand to remove any impurities or larger particles, ensuring a smooth and even layering process. Furthermore, if using natural sand, it must be thoroughly dried before dyeing to ensure the color adheres properly. The dyeing process itself involves mixing the sand with the chosen pigment and allowing it to dry completely. This step allows for a wide range of color customization, enabling artists to create truly unique and vibrant landscapes.
With the materials prepared, the actual layering process can begin. This is where the artist’s creativity and skill truly come into play. Using funnels, spoons, or even thin sticks, the colored sands are carefully poured into the container, layer by layer. The thickness of each layer contributes to the overall visual effect, with thinner layers creating finer details and thicker layers representing more substantial formations. Creating sloping dunes or sharp cliffs requires careful manipulation of the sand, often using tools to push and shape the layers into the desired forms. This process demands a steady hand and a meticulous approach, as any sudden movements can disrupt the delicate balance of the sand layers.
Beyond the basic layering techniques, various other methods can enhance the visual appeal of the sand art. Adding small pebbles, shells, or even miniature figurines can create a sense of scale and add points of interest within the landscape. Furthermore, incorporating elements like dried plants or twigs can further enhance the natural aesthetic. Once the layering is complete, a final layer of glue or sealant is often added to the top of the sand to prevent shifting and preserve the artwork. This final step ensures the longevity of the piece, allowing the miniature landscape to be enjoyed for years to come.
In conclusion, sand in a jar art is a captivating and accessible art form that allows for a remarkable degree of creativity and personalization. From the selection of the container and the dyeing of the sand to the meticulous layering process and the addition of decorative elements, each step offers an opportunity for artistic expression. The resulting artwork, a miniature world encapsulated within a glass container, serves as a testament to the artist’s patience, skill, and vision. Whether recreating a familiar landscape or crafting an entirely imaginary one, sand art offers a unique and rewarding way to explore the beauty of the natural world in miniature form.
Sand art in a jar offers a captivating blend of simplicity and complexity, demonstrating how basic materials can create intricate and beautiful designs. It’s a testament to patience, precision, and artistic vision, resulting in a miniature world captured within glass. The permanence of the finished piece contrasts with the fluidity of its creation, offering a tangible reminder of the beauty found in both process and product.