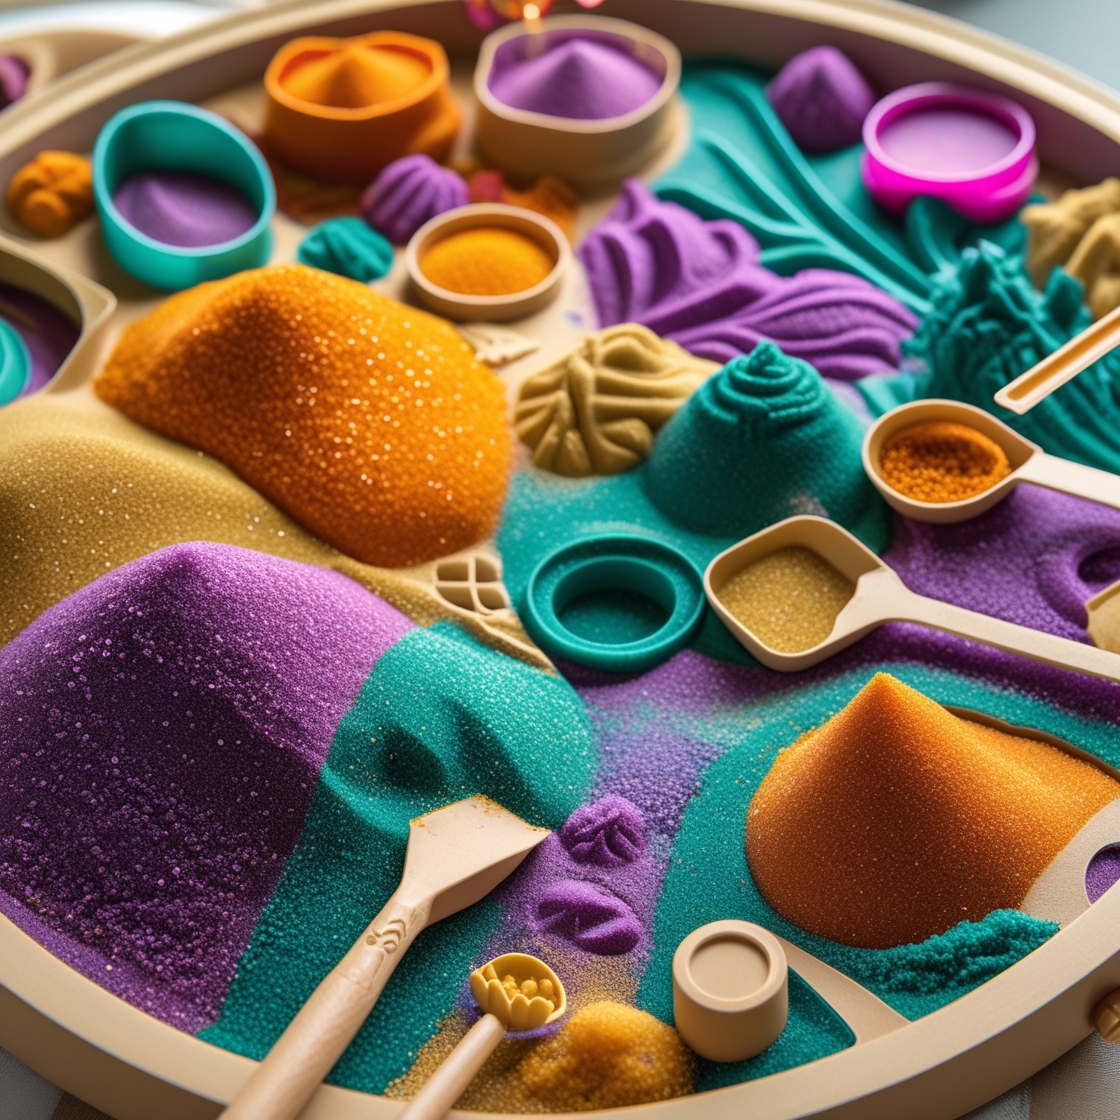
Colored sand is a versatile and vibrant material perfect for adding a unique touch to your DIY projects and home décor. Whether you’re a seasoned crafter or a curious beginner, this guide explores the world of colored sand, from creating your own to completing stunning projects. We’ll also address common concerns, such as cost-effectiveness and maintaining color vibrancy.
Making Your Own Colored Sand: A Cost-Effective Approach
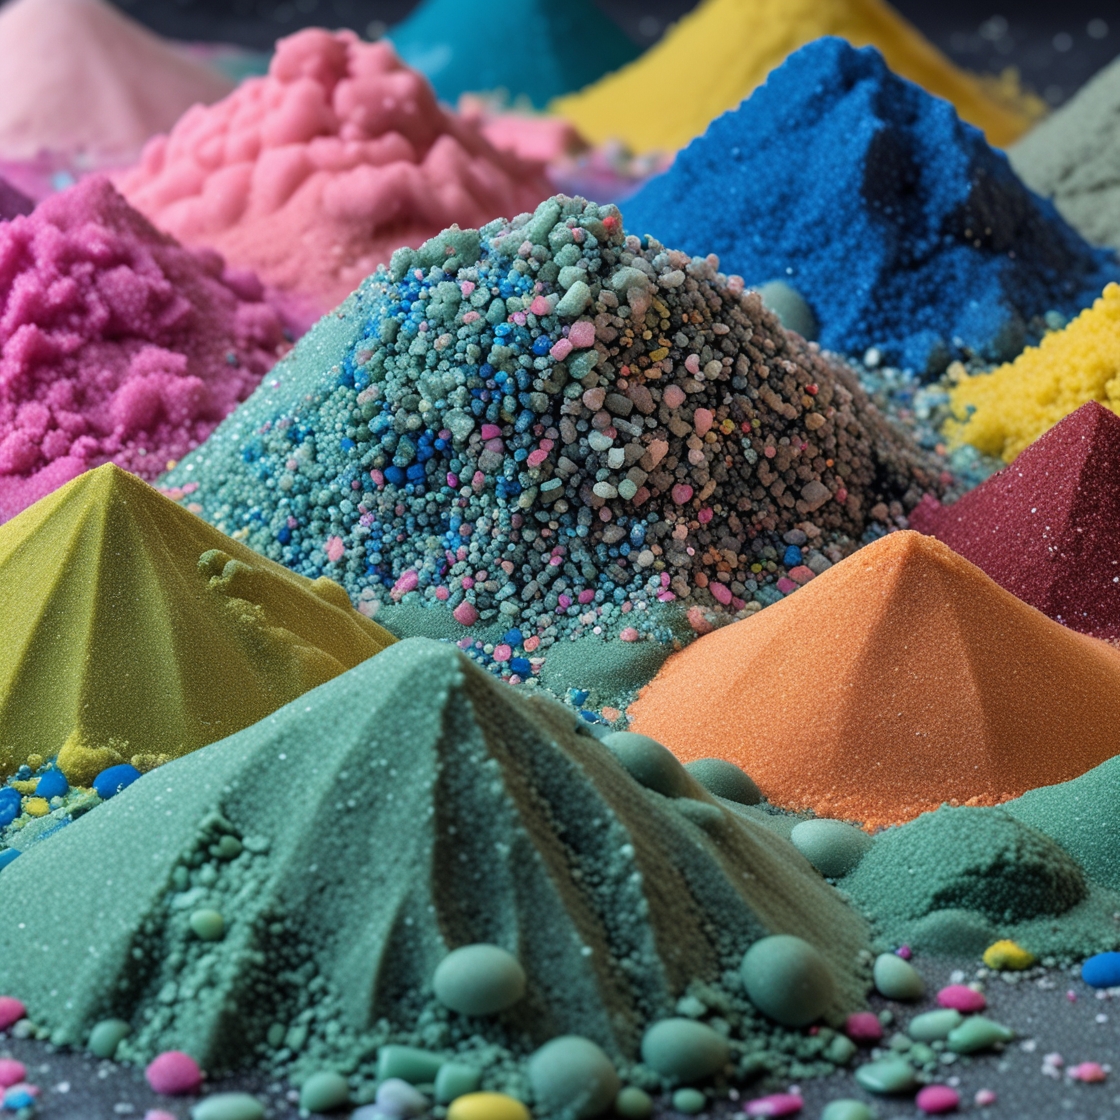
Purchasing pre-colored sand can be expensive, especially for larger projects. Fortunately, creating your own colored sand is remarkably simple and budget-friendly. This method uses readily available materials, making it a perfect option for DIY enthusiasts.
What you’ll need:
- Fine-grained sand (play sand works well)
- Colored chalk (the brighter the better!)
- Cheese grater (for even distribution of chalk)
- Large bowl
- Mixing spoon or spatula
- Optional: Sieve for finer consistency
Step-by-step instructions:
- Gather your materials: Ensure you have all the necessary items laid out before you begin. The quantity of sand and chalk will depend on the amount of colored sand you need.
- Grate the chalk: Use the cheese grater to finely grate the chalk. The finer the chalk particles, the more even the color distribution will be in your sand. Different colors can be grated separately or into a single bowl for a mixed-color effect.
- Mix the sand and chalk: Add the grated chalk to the bowl of sand. Mix thoroughly using a spoon or spatula until the color is evenly distributed throughout the sand. This might require some elbow grease, but the result is well worth the effort.
- Sieve (optional): If you prefer an extra-fine consistency, sieve the mixture to remove any larger chalk pieces.
- Dry thoroughly: Spread the colored sand on a tray or sheet of paper and allow it to dry completely. This prevents clumping and ensures the vibrancy of the color. Drying time can vary depending on the humidity and the amount of sand.
Tips for Vibrant Colors:
- Chalk quality matters: Use high-quality chalk for richer, more vibrant colors. Avoid chalk that is brittle or crumbly, as this will affect the final color intensity.
- Experiment with ratios: Adjust the ratio of chalk to sand to achieve your desired color intensity. Start with a smaller amount of chalk and gradually add more until you reach your preferred shade.
- Multiple colors: Don’t limit yourself to one color! Experiment with layering different colors of chalk for unique and complex shades.
Stunning DIY Projects Using Colored Sand
Once you have your colored sand, the creative possibilities are endless! Here are some inspiring projects to get you started:
Sand Art Terrariums
These miniature worlds are incredibly captivating. The layered colored sand creates a stunning visual backdrop for small plants and decorative elements.
What you’ll need:
- Clear glass container (jar, vase, or terrarium)
- Colored sand (various colors)
- Small plants (succulents or air plants work well)
- Decorative items (small stones, shells, figurines)
Instructions:
- Layer the sand: Carefully pour layers of different colored sand into the container, creating the desired pattern. Avoid shaking or disturbing the layers once they are set.
- Add plants: Gently plant your chosen succulents or air plants. Ensure the roots are properly covered but not overcrowded.
- Add decorations: Arrange your decorative items to complement the sand layers and plants, adding a unique touch to your terrarium.
Framed Sand Art
Transform your favorite images or designs into unique works of art using colored sand.
What you’ll need:
- Picture frame with glass inset
- Adhesive (glue suitable for glass and sand)
- Colored sand (various colors)
- Design template (printed or hand-drawn)
Instructions:
- Prepare your design: Print or draw your design onto paper. This will serve as your template.
- Apply adhesive: Apply a thin layer of adhesive to a section of the glass inset, following your design template.
- Add the sand: Carefully sprinkle the corresponding color of sand onto the adhesive area. Gently tap off any excess sand.
- Repeat: Repeat steps 2 and 3 for the rest of your design. Allow the adhesive to dry completely before carefully removing the excess sand.
Sand Art Candles
These candles add a touch of artistry and elegance to any space. The layered sand creates a beautiful visual effect.
What you’ll need:
- Clear glass container (jar, vase)
- Colored sand (various colors)
- Candle (pillar candle or tea light)
Instructions:
- Layer the sand: Create your desired sand layers within the container.
- Insert the candle: Carefully place your candle within the layered sand. Ensure the candle is stable and secure.
Sand Art Tabletops
This project requires more advanced skills and materials but offers a truly unique and personalized touch to your home. It involves creating a resin tabletop with embedded colored sand designs.
Maintaining Color Vibrancy
To ensure your colored sand creations remain vibrant for years to come, avoid direct sunlight and moisture. For sand art encased in resin or glass, this is less of a concern. However, for open displays, consider using a UV-protective spray sealant to protect the colors from fading.
Common Misconceptions About Colored Sand
- All colored sand is created equal: Not true! The quality of the sand and the pigments used can significantly impact the vibrancy and longevity of the color.
- Homemade colored sand is always inferior: With the right materials and techniques, homemade colored sand can be just as vibrant and long-lasting as store-bought options.
- Colored sand projects are only for children: While colored sand is a great material for children’s crafts, its versatility makes it suitable for a wide range of projects, appealing to adults of all ages and skill levels.
By exploring the various applications and techniques highlighted in this guide, you can unlock the full potential of colored sand and create stunning, unique pieces to enhance your home and express your creativity. Remember, the key is to experiment, explore, and have fun!
“