Stunning Sand Art Bottles: A Deep Dive into Design and Creation
Explore the captivating world of sand art bottles, a mesmerizing craft that blends artistry and relaxation. Whether you’re a seasoned crafter seeking new inspiration or a curious beginner eager to learn, this comprehensive guide delves into the history, techniques, and creative possibilities of these unique decorative pieces. We’ll cover everything from basic DIY tutorials to advanced techniques and even explore the potential of creating your own sand art bottle kits.
The Evolution of Sand Art Bottles: A Journey Through Time
Sand art, in its various forms, has been a creative outlet for centuries. However, the specific art form of layering colored sand within glass bottles to create intricate designs gained significant popularity thanks to the remarkable work of Andrew Clemens. This self-taught artist, working in the late 19th and early 20th centuries, became renowned for his incredibly detailed sand art bottles, crafted without the use of any adhesives – a testament to his skill and precision. While his techniques remain somewhat mysterious, his legacy continues to inspire contemporary artists and hobbyists alike. Modern trends see sand art bottles incorporating a wider range of colors, bottle shapes, and thematic designs, pushing the boundaries of this classic craft.
Gathering Your Supplies: Essential Materials and Tools
Before embarking on your sand art journey, gathering the necessary materials is crucial. Here’s a comprehensive list:
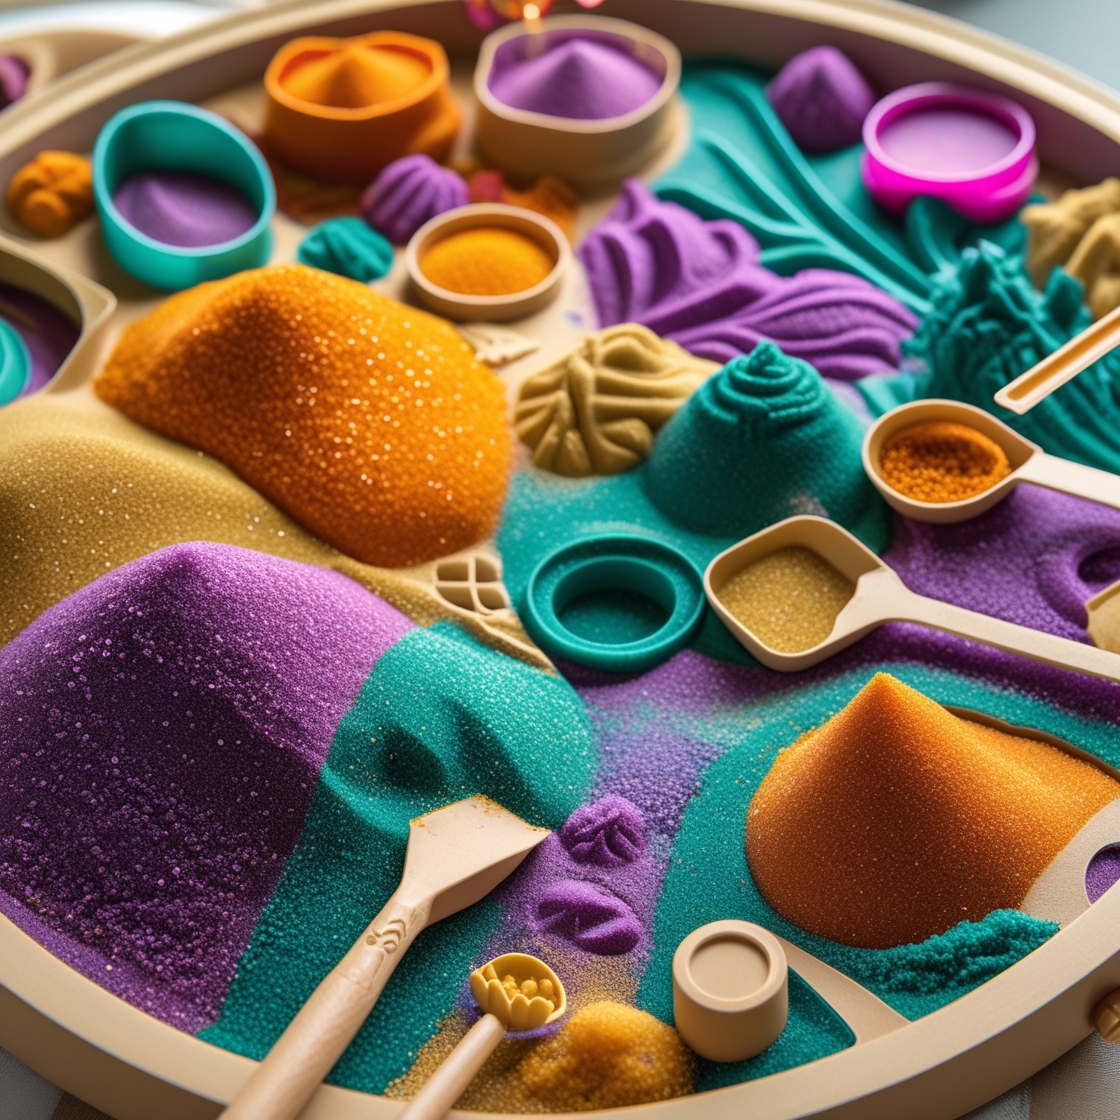
- Colored Sand: This is the heart of your creation! You can purchase pre-colored sand specifically designed for sand art, or, for a more hands-on experience, learn to dye your own sand using liquid watercolors or food coloring (more on that later). Experiment with a variety of shades and textures to achieve the desired effect.
- Bottles and Containers: The choice of bottle greatly impacts the final aesthetic. Consider using clear glass bottles, recycled jars, or even specialized containers designed for sand art. The shape and size of the bottle will influence the complexity of the design you can create.
- Funnel: A funnel is invaluable for accurately pouring the sand into the bottle, preventing spills and ensuring precise layering.
- Spoon or Small Scoop: A small spoon or scoop helps to control the amount of sand being poured, creating smoother transitions between colors.
- Glue (Optional): While Andrew Clemens’ masterful technique avoided glue, you may choose to use a strong adhesive to secure the lid and prevent sand from escaping or shifting over time.
Mastering the Basics: A Step-by-Step Guide to Sand Art
Creating stunning sand art bottles is easier than you might think. Follow these steps for a successful first attempt:
- Prepare Your Workspace: Choose a clean, flat surface to avoid spills.
- Start Layering: Begin by pouring a small amount of your chosen base color into the bottle. Use the funnel and spoon to control the flow and create an even layer.
- Layering Techniques: Experiment with different layering techniques. For sharp lines, pour slowly and steadily. For a more blended look, slightly tilt the bottle as you pour, allowing the sand to settle naturally.
- Creating Patterns: Use skewers, thin sticks, or other tools to gently create patterns and designs within the layers of sand. Experiment with swirls, stripes, and geometric shapes.
- Color Combinations: Don’t be afraid to experiment with color combinations! Contrasting colors create striking visual effects, while complementary colors offer a more harmonious aesthetic.
Elevating Your Craft: Advanced Techniques and Tips
Once you’ve mastered the basics, explore these advanced techniques to enhance your sand art creations:
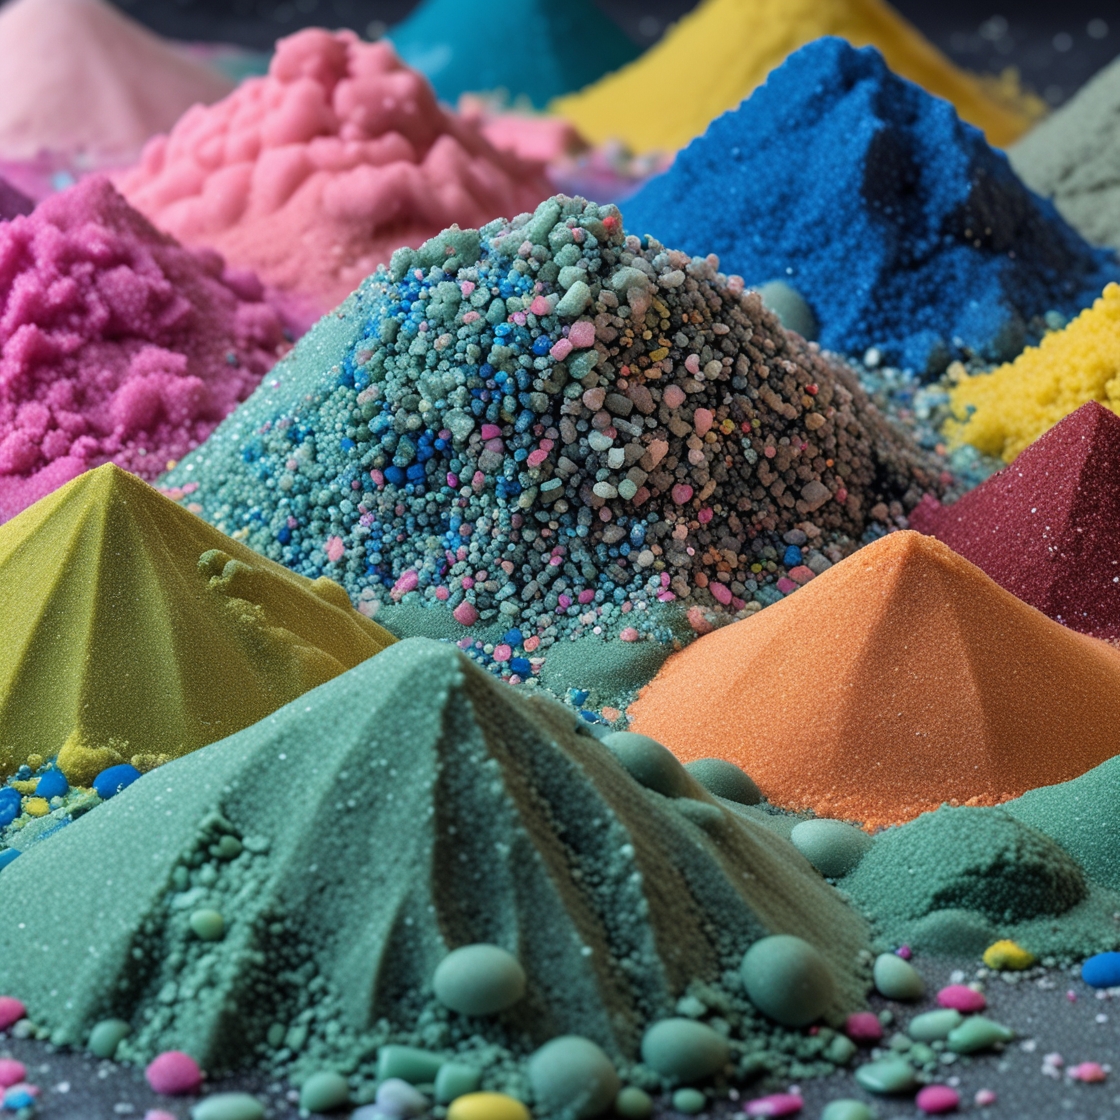
- Dyeing Your Own Sand: Create custom colors by dyeing plain sand using liquid watercolors or food coloring. Experiment with different ratios to achieve various shades and intensities. Ensure the sand is completely dry before use. Numerous online tutorials, like the one from Art Bar Blog [4], can guide you through this process.
- Creating Sharp Vs and Other Patterns: Practice creating sharper lines and more defined patterns using skewers or other tools. Experiment with different techniques to achieve the desired results. Mother Natured [5] provides helpful tips on this.
- Minimizing Air Pockets: To prevent the sand from shifting over time, minimize air pockets during the layering process. Gently tap the bottle as you pour to help the sand settle evenly.
- Color Contrasts: Utilize contrasting colors to create dramatic effects. Consider themes like zebra stripes or tiger patterns for bold and eye-catching designs.
DIY Sand Art Bottle Kits: A Gift-Giving Opportunity
Creating and selling DIY sand art bottle kits is a fantastic way to share your passion and generate income. Here’s what you need to include:
- Assorted Colored Sand: Offer a variety of colors to allow for creative freedom.
- Selection of Bottles: Include different shapes and sizes to cater to various preferences.
- Funnel & Spoon: Essential tools for easy layering.
- Instructions: Provide clear and concise instructions, including pictures or diagrams for visual learners.
- Optional Additions: Consider adding extra embellishments like glitter, small decorative items, or even sealant to enhance the kits.
Unique Sand Art Bottle Designs: Inspiration and Ideas
The beauty of sand art lies in its limitless creative potential. Here are some design ideas to spark your imagination:
- Thematic Bottles: Create sand art bottles based on holidays, seasons, or personal interests. A beach-themed bottle might incorporate blues, greens, and whites, while a holiday bottle could feature festive colors and patterns.
- Custom Designs: Draw inspiration from Andrew Clemens’ intricate designs, or create entirely unique patterns and shapes. Let your creativity flow!
Crafting with Children: Fun and Engaging Activities
Sand art is a fantastic activity for children, fostering creativity and fine motor skills. However, adult supervision is crucial, especially with younger children. To keep kids engaged:
- Mix Colors Together: Let them experiment with mixing different colors to create new shades.
- Simple Patterns: Start with simple patterns and gradually increase the complexity as their skills develop.
- Themed Creations: Choose themes that resonate with their interests, like animals or favorite characters.
Completing Your Masterpiece: Final Touches and Preservation
Once your sand art bottle is complete, secure the lid tightly. You can use glue to ensure it stays sealed. To protect your creation from dust and moisture, consider displaying it in a protected area, away from direct sunlight.
Frequently Asked Questions (FAQ)
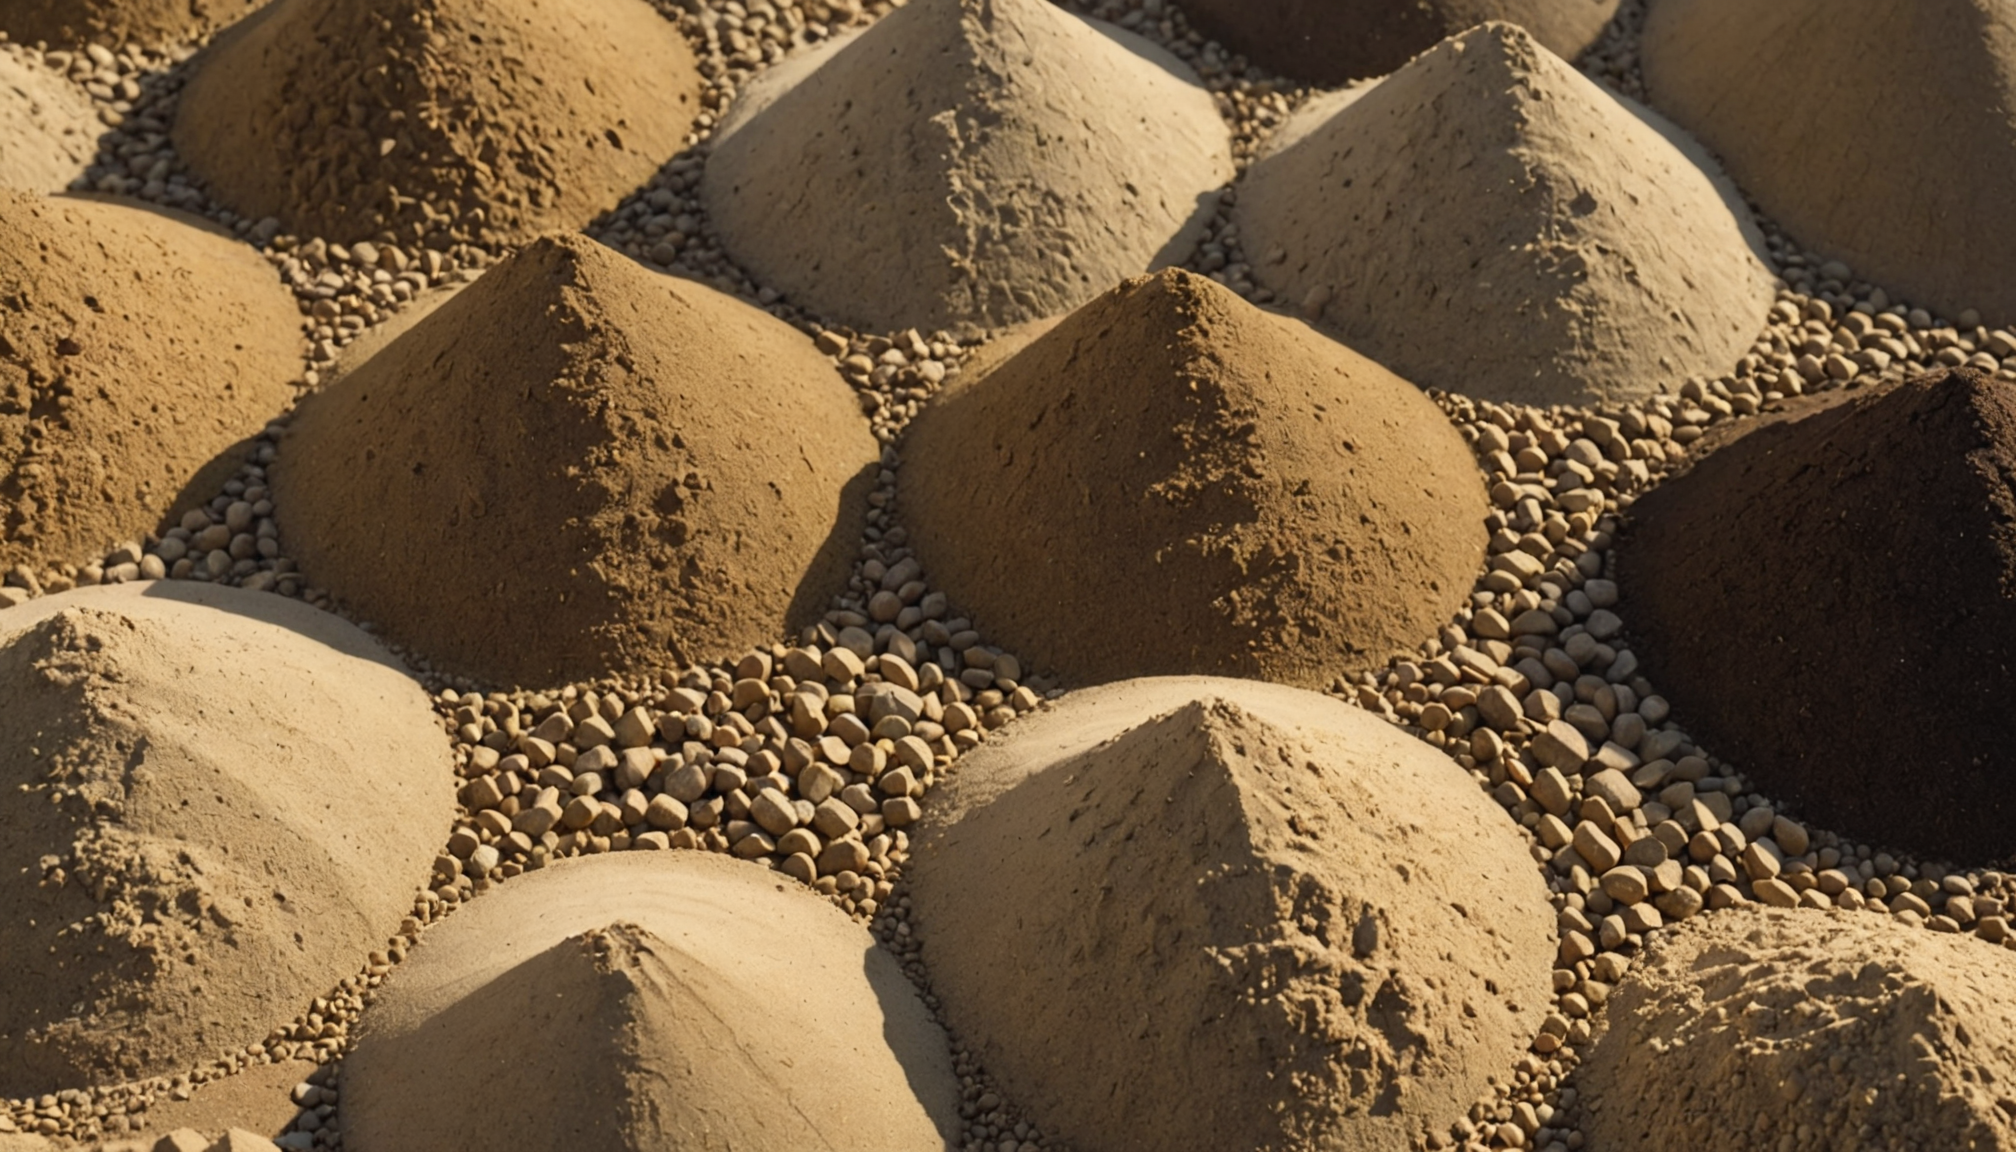
- Can I use regular beach sand? While you can, beach sand is often inconsistent in color and texture, making it less ideal for intricate designs. Pre-colored or dyed sand provides better results.
- How do I clean up spills? Clean up spills immediately to avoid staining. A damp cloth or sponge will usually suffice.
- How long does it take to make a sand art bottle? This depends on the complexity of the design. Simple designs can be completed in under an hour, while more intricate pieces may take several hours.
In conclusion, the world of sand art bottles offers a limitless canvas for creativity. Whether you’re a seasoned artist or a curious beginner, the process of creating these mesmerizing pieces is both rewarding and enjoyable. So, gather your supplies, unleash your imagination, and embark on your own sand art adventure! Remember to explore the resources mentioned throughout this article for further inspiration and guidance. Start creating your own stunning sand art bottles today!
“