“
In the world of art and crafting, there exists a mesmerizing and timeless form of expression known as sand art. Sand art pictures offer a unique way to create stunning visual designs using colored sands. Whether you’re an art enthusiast, crafter, interior designer, or simply looking for a unique home decor item or gift idea, this guide will walk you through the basics of sand art, provide advanced techniques, and offer project ideas to help you get started.
Sand art, a captivating form of visual art, involves the meticulous arrangement of colored sand to create intricate designs and patterns. It’s a versatile medium, capable of producing both temporary and permanent artworks. While its precise origins are difficult to pinpoint, sand art’s history is rich and diverse, featuring appearances in various cultures across the globe. Ancient civilizations likely utilized sand in ritualistic practices and decorative elements, while modern applications have broadened its appeal into the realms of home décor, gift-giving, and even therapeutic practices. Sand art can range from simple, two-dimensional designs to complex, three-dimensional sculptures, incorporating geometric shapes, themed artworks, and much more.
Beyond its aesthetic appeal, sand art offers a multitude of benefits:
Unleash Your Creativity: Sand art provides an excellent avenue for self-expression. The endless color combinations and design possibilities allow for unique and personalized creations, catering to individual styles and preferences.
A Therapeutic Escape: The process of carefully arranging sand can be incredibly therapeutic. The repetitive motions and focus required can provide a calming and meditative experience, reducing stress and fostering mindfulness.
Educational Opportunities: Sand art serves as a valuable educational tool, particularly for children. It introduces fundamental concepts of color theory, texture, and composition in a fun and engaging manner.
Before embarking on your sand art journey, gather the necessary materials:
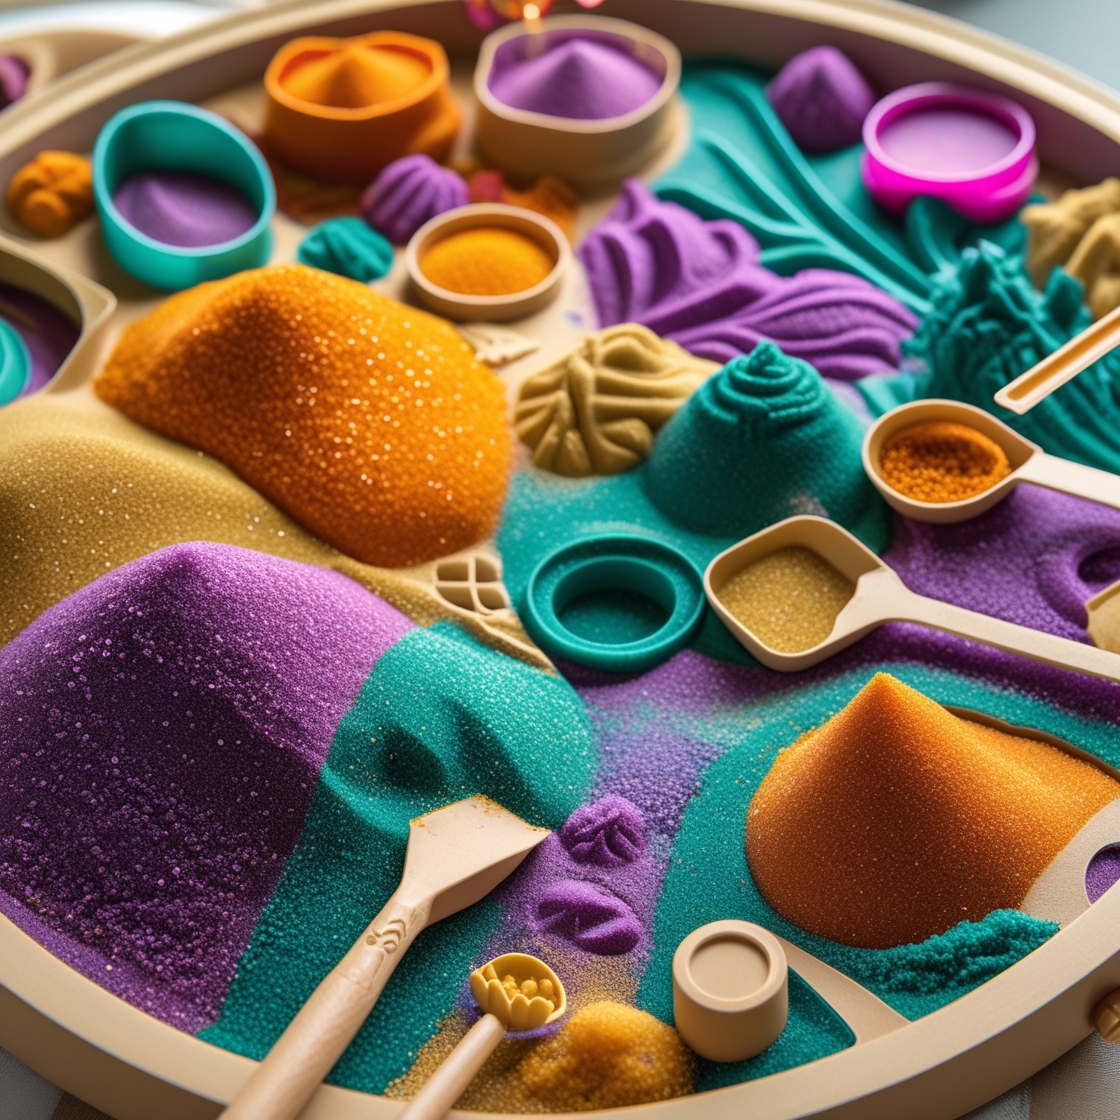
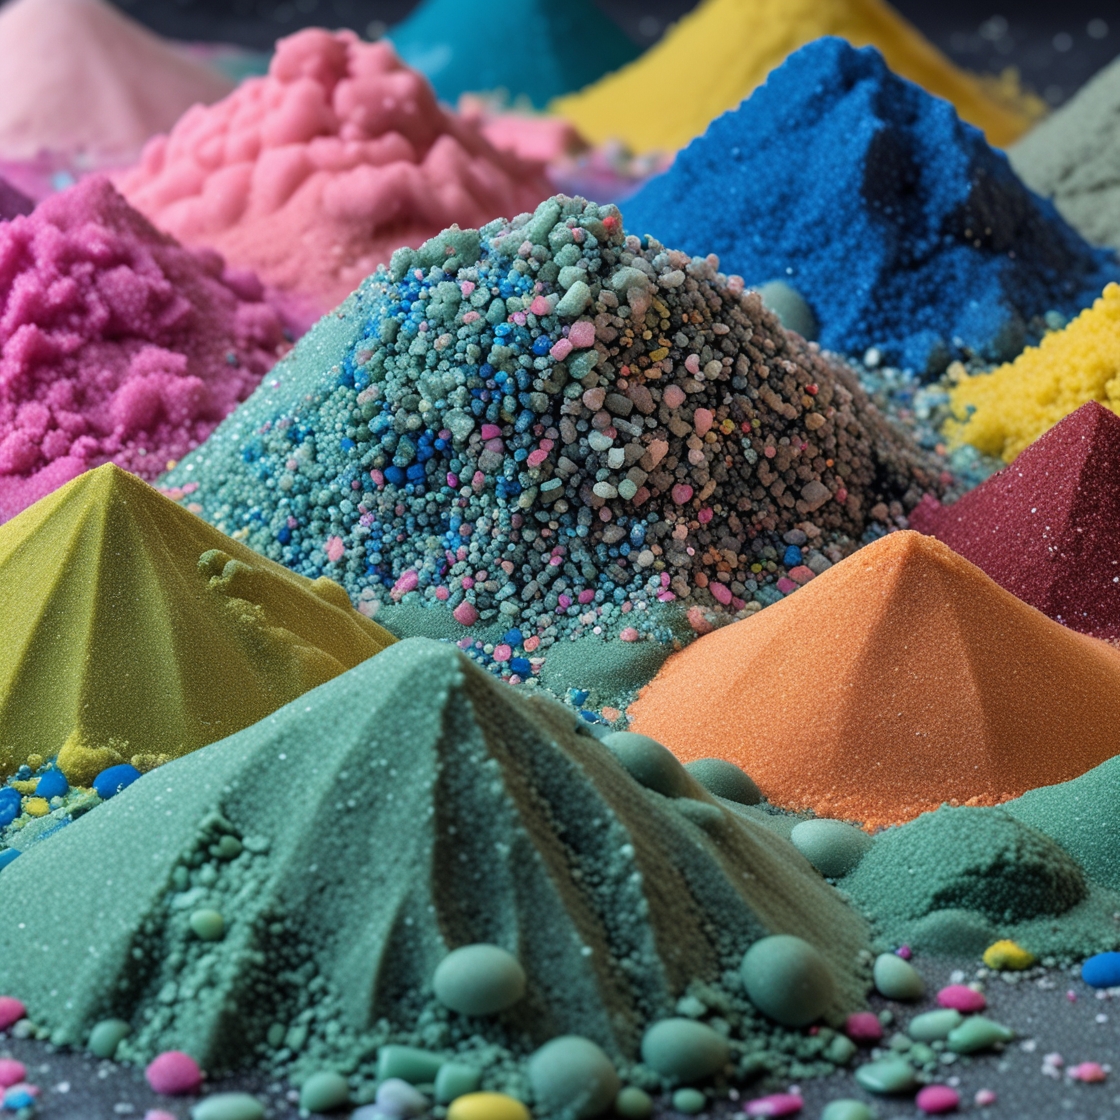
Colored Sand: A wide variety of colored sands are available, ranging from vibrant rainbow hues to subtle earth tones. The choice of sand will significantly impact the final aesthetic of your artwork. Consider experimenting with different grain sizes for unique textural effects.
Adhesive Sheets or Boards: These form the foundation of your sand art creation. Adhesive sheets, readily available online and in craft stores, offer a convenient and mess-free approach. Alternatively, you can prepare your own adhesive surface using a suitable glue and a sturdy board. ACTIVA Products [2] offers high-quality adhesive boards specifically designed for sand art projects, ensuring durability and optimal adhesion.
Glue and Decoupage Medium: White school glue, diluted with water, serves as a reliable adhesive for many sand art techniques. A decoupage medium, however, offers superior durability and water resistance, making it ideal for long-lasting pieces, especially larger projects. The ACTIVA Products case study [1] showcased the effectiveness of their decoupage medium in creating a large-scale sand art backdrop.
Essential Tools: A selection of brushes (various sizes for detail work), small containers for holding and dispensing sand, and potentially a palette knife or spatula for larger applications will complete your toolkit.
Several techniques can be employed to create stunning sand art pictures:
Painting with Sand and Glue: This classic method involves applying a thin layer of diluted glue to your chosen surface, then carefully sprinkling colored sand onto the adhesive. Allow the glue to dry completely before adding subsequent layers of different colors to build depth and complexity. For solid shapes, apply glue directly to the outline, then fill it in with the glue mixture before adding sand.
Sand and Decoupage Medium: Mixing colored sand with decoupage medium creates a paste-like consistency. This method is particularly suitable for larger-scale projects and offers excellent durability and water resistance. The resulting artwork has a slightly different texture compared to the glue method. The ACTIVA Products backdrop [1] exemplifies the potential of this technique for ambitious projects.
Utilizing Adhesive Boards: For a simpler approach, utilize pre-made adhesive boards designed specifically for sand art. These boards typically have a peel-off protective layer, revealing an adhesive surface ready for immediate sand application. This method is perfect for beginners and allows for quick creation of intricate designs.
Layering for Depth: Mastering the art of layering is crucial for creating dimensional pieces. Apply thin layers of glue or decoupage medium, sprinkle sand, let it dry, and repeat with different colors to build up intricate designs. This technique is key to achieving realistic effects in landscapes or complex patterns.
Patterns and Designs: Explore various patterns, ranging from simple geometric shapes and mandalas to complex landscapes. Experiment with different color combinations and layering techniques to achieve the desired aesthetic.
Textural Variations: Experiment with different types of sand (fine, coarse, etc.) to introduce textural variety into your artwork. This adds another layer of complexity and visual interest to your creations.
Here are some project ideas to spark your creativity:
Sand Art Bottles: Fill clear glass bottles with layers of colored sand to create unique and decorative vases or ornaments. This is a great project for all ages and allows for experimentation with various bottle shapes and sizes.
Sand Art Necklaces: Create beautiful and unique necklaces by filling small, transparent containers with colored sand and attaching them to a necklace chain. This is a perfect blend of art and wearable accessories.
Sand Art Coasters: Create personalized coasters by using adhesive boards cut to the desired size and shape. You can create simple geometric designs or more complex patterns.
Seasonal Scenes: Capture the essence of different seasons by creating sand art depicting festive scenes, such as Christmas, Easter, or autumnal landscapes.
Pet Portraits: Create adorable pet portraits using sand art. Employ different shades of brown, black, and white to represent fur and add small details with a fine brush.
Inspirational Quotes: Create inspirational wall art by incorporating quotes or words into your sand art designs.
Color Mixing: Avoid mixing large quantities of sand prematurely. Mix small batches to ensure the desired color consistency and prevent accidental color contamination.
Glue Application: Avoid using excessive glue. Too much glue can lead to clumping, uneven surfaces, and attract dust. Apply thin, even layers.
Display Methods: Consider using magnets for smaller pieces, frames for larger artwork, or creating a dedicated sand art gallery to showcase your creations.
Preservation Techniques: To protect your sand art from dust and damage, consider using a sealant spray or covering the artwork with glass.
Sand art offers a fantastic creative outlet for individuals of all ages and skill levels. From simple designs to intricate masterpieces, the possibilities are endless. With the right materials, techniques, and a touch of imagination, you can create stunning and unique sand art pictures that will bring joy and beauty to your life and the lives of others. Remember to experiment, embrace your creativity, and enjoy the therapeutic process of creating your own sand art masterpieces.
Q: What type of glue is best for sand art?
A: White school glue diluted with water works well for many projects. However, for larger projects or those requiring greater durability and water resistance, a decoupage medium is recommended.
Q: Can I use any type of sand for sand art?
A: While play sand can be used, colored sand specifically designed for crafts is recommended. This ensures vibrant colors and better adhesion.
Q: How do I prevent my sand art from getting dusty?
A: Use a sealant spray to protect your finished artwork. Alternatively, display your artwork behind glass to minimize dust accumulation.
Q: How long does sand art take to dry?
A: Drying time depends on the thickness of the glue or decoupage medium layers and the ambient temperature and humidity. Allow ample drying time between layers to prevent smudging or color bleeding.
“